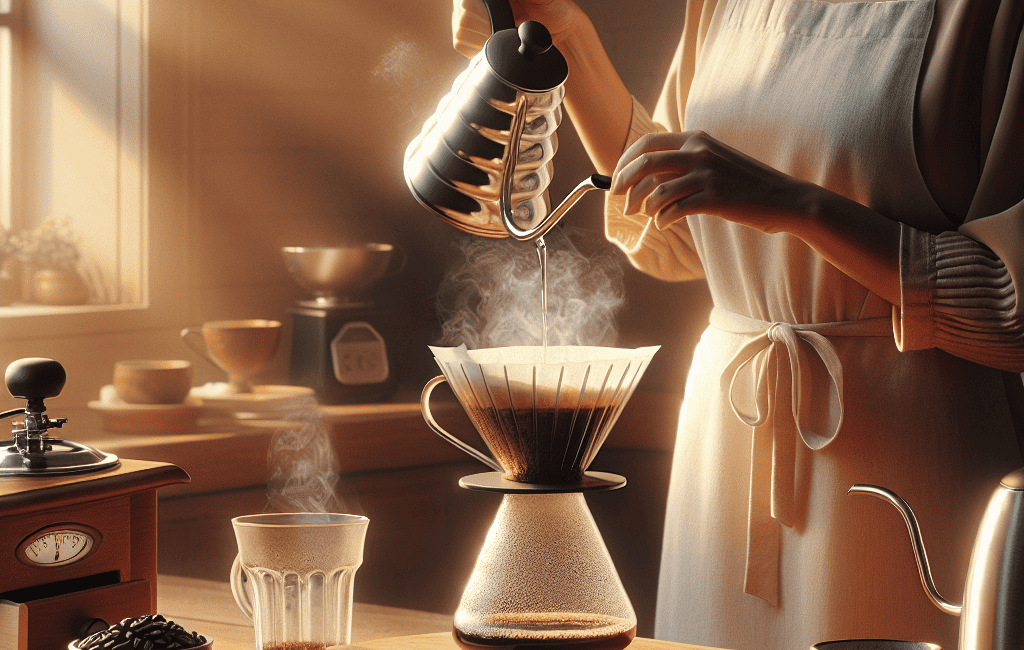
Mastering the Pour Over: A Step-by-Step Guide
If you’re a coffee enthusiast looking to elevate your brewing experience, mastering the pour over method is essential. This technique not only allows for greater control over the brewing process but also brings out the unique flavors of your coffee beans. In this guide, we’ll walk you through each step of the pour over process, ensuring that you can brew the perfect cup every time.
What is Pour Over Coffee?
Pour over coffee is a manual brewing method where hot water is poured over coffee grounds, allowing the water to extract flavors as it passes through the grounds and drips into a carafe or mug below. This method is celebrated for its ability to deliver a clean, flavorful cup of coffee, highlighting the nuances of different beans.
Equipment You’ll Need
Before we dive into the brewing process, let’s gather the necessary equipment:
- Pour Over Brewer: Common options include the Hario V60, Chemex, or Kalita Wave.
- Filter: Use paper filters that suit your brewer. Ensure they fit well to avoid any overflow.
- Coffee Grinder: A burr grinder is recommended for a consistent grind size.
- Scale: For precise measurements of coffee and water.
- Kettle: A gooseneck kettle allows for controlled pouring.
- Fresh Coffee Beans: Choose high-quality, freshly roasted beans.
- Hot Water: Ideally between 195°F to 205°F (90°C to 96°C).
Step-by-Step Guide to Pour Over Brewing
Now that you have your equipment ready, let’s get started with the brewing process. Follow these steps for a delicious cup of pour over coffee:
- Measure Your Coffee: For a standard cup (about 12 oz), use 20 grams of coffee. Adjust based on your taste preference.
- Grind the Coffee: Grind your beans to a medium-coarse consistency, similar to sea salt. This allows for optimal extraction.
- Prepare Your Filter: Place the filter in your pour over brewer. Rinse it with hot water to remove any paper taste and preheat the brewer. Discard the rinse water.
- Add Coffee Grounds: Place your ground coffee into the filter. Use a spoon or shake it gently to create an even bed.
- Bloom the Coffee: Start by pouring a small amount of hot water (about 30-40 grams) over the coffee grounds. This is called blooming and helps release CO2, enhancing flavor. Wait for 30 seconds.
- Continue Pouring: Slowly pour hot water in a circular motion over the coffee grounds, avoiding the edges. Aim for a total of 320 grams of water (including the bloom). The pouring should take about 2-3 minutes.
- Let It Drip: Allow the water to fully drip through the coffee grounds. The brewing time should take approximately 3-4 minutes in total.
- Serve and Enjoy: Once the dripping has stopped, remove the brewer and enjoy your freshly brewed pour over coffee!
Tips for Perfecting Your Pour Over
To maximize your pour over experience, consider these additional tips:
Common Mistakes to Avoid
Even seasoned brewers can make mistakes. Here are a few common pitfalls:
- Incorrect Grind Size: Too fine a grind can lead to over-extraction and bitterness, while too coarse may result in under-extraction and a weak flavor.
- Poor Water Temperature: If your water is too hot, it can scorch the coffee; too cold, and it won’t extract fully. Stick to the recommended temperature range.
- Inconsistent Pouring: Pouring too quickly or unevenly can lead to uneven extraction. Practice a steady, controlled pour.
Conclusion
Mastering the pour over method takes time and practice, but the rewards are well worth the effort. With a little patience and attention to detail, you can brew a cup of coffee that highlights the unique characteristics of your beans, providing a delicious start to your day or a delightful afternoon pick-me-up. So grab your gear, follow these steps, and enjoy the journey of crafting the perfect pour over coffee!
Get Brewing!
Now that you have the knowledge, it’s time to put it into practice! Experiment with different beans, ratios, and techniques. Each cup will bring you closer to your perfect brew. Happy pouring!


